Installing a programmable thermostat, also known as a setback thermostat or clock thermostat, is one of the easiest and most effective ways to save energy. With a programmable thermostat, you can set the temperature to be the most energy-efficient based on the time of day, allowing you to save money 24/7 without even having to think about it. In this blog post, we will discuss the benefits of installing a programmable thermostat and provide a step-by-step guide on installing a digital programmable thermostat.
Benefits of Installing a Programmable Thermostat
1. Energy and Cost Savings: By programming your thermostat to adjust the temperature when you’re asleep, at work, or away from home, you can significantly reduce your energy consumption and lower your utility bills. According to the U.S. Department of Energy, homeowners can save up to 10% yearly on heating and cooling costs by reducing their thermostat by 7-10 degrees Fahrenheit for 8 hours daily.
2. Increased Comfort: With a programmable thermostat, you can ensure that your home is at a comfortable temperature when you wake up, return from work, or arrive home after a vacation. No more coming home to a cold house in the winter or a sweltering one in the summer.
3. Convenience and Flexibility: Programmable thermostats offer the convenience of pre-setting temperature adjustments based on your daily schedule. You can easily customize the settings to fit your lifestyle and preferences.
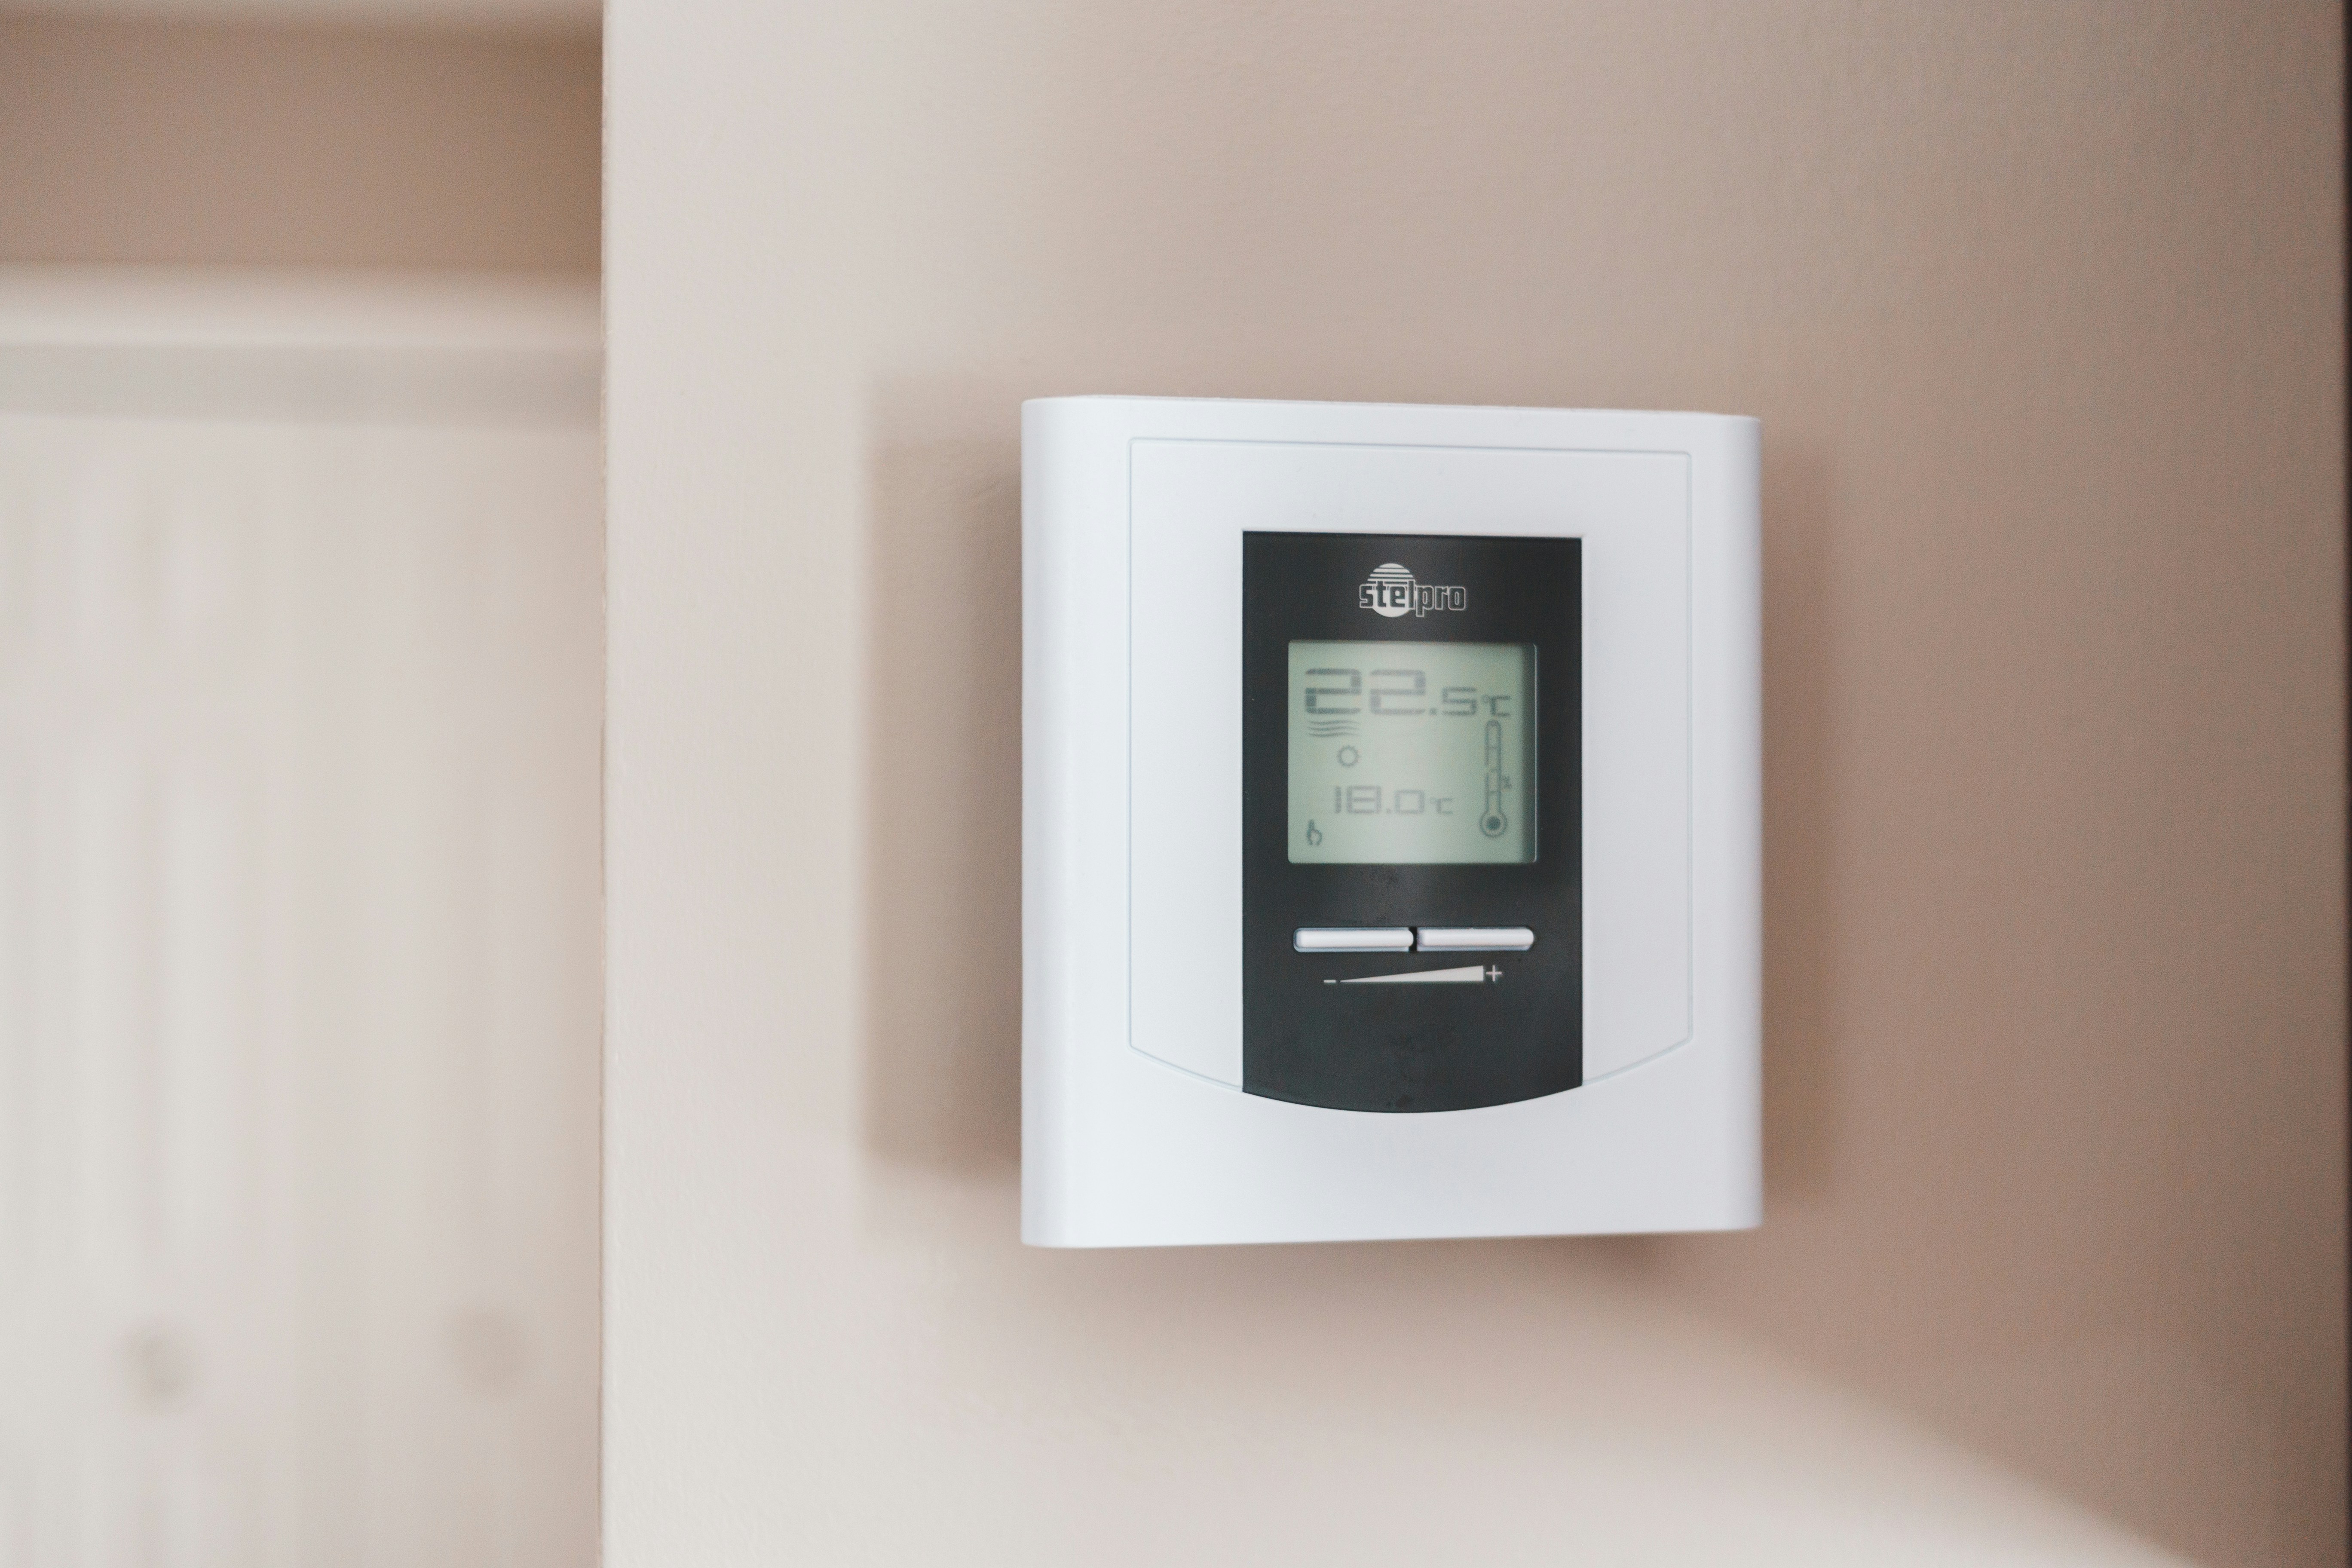
Step-by-Step Guide: Digital Programmable Thermostat Installation
Note: Turn off the power to your heating and cooling system at the circuit breaker before installing.
1. Remove the Old Thermostat: Carefully remove the cover of your existing thermostat to expose the wiring. Take a picture or note the wire connections for reference during the new thermostat installation. Remove the old thermostat from the wall.
2. Mount the New Thermostat: Position the new thermostat base on the wall at the desired location. Use a pencil to mark the screw holes. Drill pilot holes if necessary, and then secure the base to the wall using screws or adhesive strips.
3. Connect the Wires: Refer to the manufacturer’s instructions for your specific thermostat model to determine the correct wiring connections. Connect each wire to the corresponding terminal on the new thermostat base. Make sure the connections are secure.
4. Attach the Thermostat Cover: Once the wiring is complete, snap onto the base. Ensure that it is securely attached.
5. Set Up the Thermostat: Follow the manufacturer’s instructions to set up your new programmable thermostat. This usually involves setting the time, day, and temperature preferences for different times of the day. Some thermostats can even be controlled remotely using a smartphone app.
6. Test the Thermostat: Turn the power back on at the circuit breaker and test the thermostat to ensure it functions correctly. Adjust the temperature settings to verify that the heating and cooling systems respond accordingly.
7. Fine-tune the Settings: Once the thermostat is installed and tested, you can fine-tune the temperature settings to maximize energy savings and comfort. Experiment with different temperature settings and monitor your energy usage to find the optimal settings for your home.
Conclusion
Installing a programmable thermostat is a simple and effective way to save energy and reduce utility bills. You can enjoy increased comfort while minimizing energy waste by programming your thermostat to adjust the temperature based on your daily schedule. Follow the step-by-step guide in this blog post to install a digital programmable thermostat and start reaping the benefits of energy efficiency today.
Total Home Comfort is dedicated to delivering top-notch service and sustainable solutions. Trust us to enhance your living environment, ensuring total home comfort year-round. Remember, professional care is not just a luxury but a necessity for your AC needs. Choose Total Home Comfort for reliable, efficient, cost-effective air conditioning services.